
– For known issues click here.
Make sure you are running ApexSec using your command prompt/terminal so that you can see the specific error message related to your problem. See Running ApexSec for more information.
Problems on start-up
In order to help you solve any problems you have with starting ApexSec desktop we will need a screenshot of the error from your command prompt/terminal window like this:
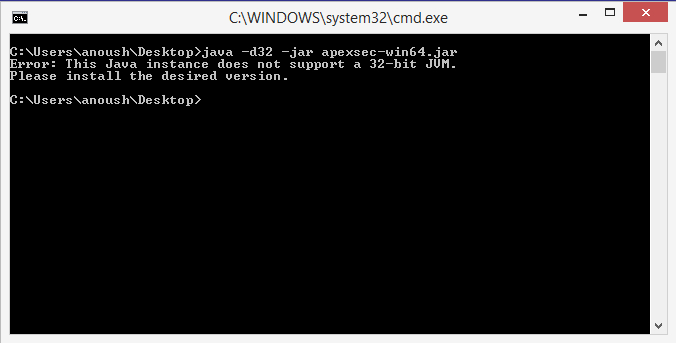
We will also need to know your OS version, i.e Windows, Mac or Linux so make sure you include that in your report to us.
Then simply contact us or Email this information to us at apexsec@recx.co.uk.
Problems whilst running
If you have any problems whilst running ApexSec the process is fairly similar, we still need a screenshot of the Command Prompt/Terminal window and your OS version, however we also need a few more pieces of information.
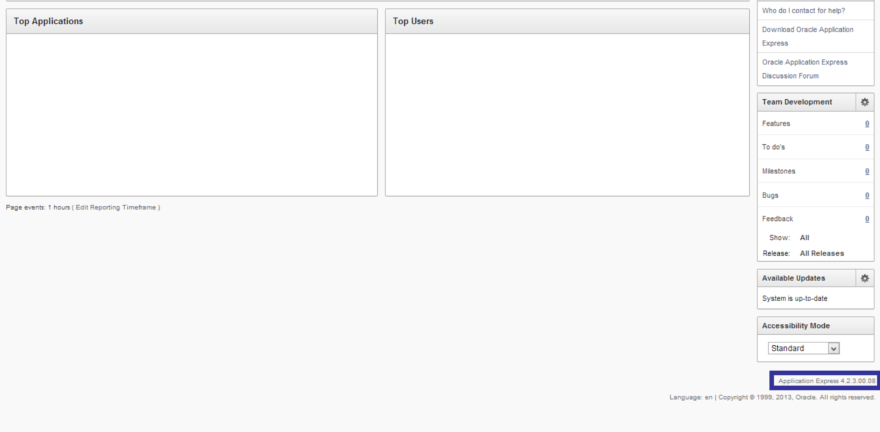
Firstly we need to know what version of APEX you are using. One way this can be found is the bottom-right of your APEX builder home page:
We also need to know what method you are using to retrieve your APEX application with ApexSec. If you are unsure of which method you are using, click here to visit the relevant section of our usage guide.
Then send us all this information, plus any other information you feel is important either to our email apexsec@recx.co.uk or by contacting us and we will help you solve your issue.
Taking a screenshot
Windows:
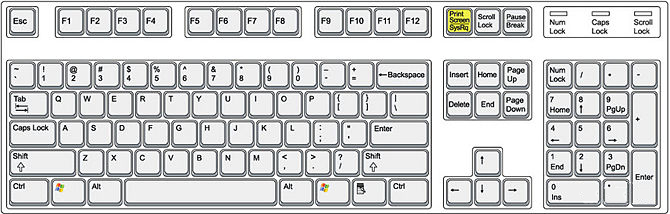
To take a screenshot of your entire screen on windows simply press the PrntScr button on your keyboard:
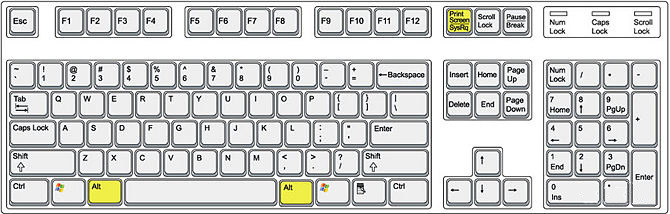
Alternatively you can take a screenshot of just one window. To do this, click on the window you would like to take a screenshot of (i.e the Command Prompt/Terminal window) and press Alt + PrntScr on your keyboard:
Mac OS X:
On a Mac the most flexible way of capturing portions of your screen is to use the cross-hair method. To do this press Command+Shift+4:
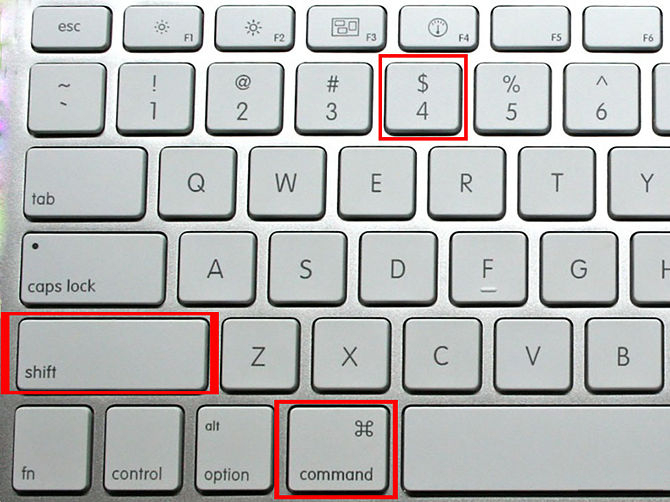
Your cursor will turn into a small cross-hair reticle.
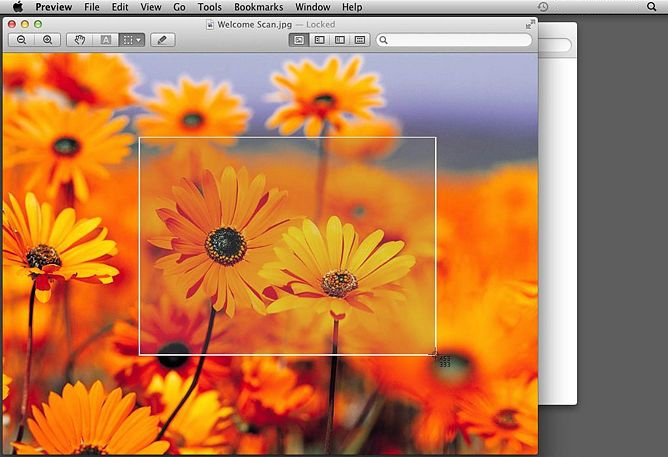
Click and drag your cursor to highlight the area you’d like to take a picture of. A rectangle should appear where you drag your cursor. If you need to adjust your windows, press esc to return to a regular cursor without taking a picture.
Let go of the mouse. You should hear a brief camera shutter noise if your computer’s sound is turned on. That signals that your screenshot has been taken. You can then find your new screenshot on your desktop It will be saved as a .png file named “screenshot” labeled with the date and time. – Earlier versions of OS X will save it as “Picture #”—for example, if it’s the 5th screenshot on your desktop it will be labeled “Picture 5”.
Linux:
The method for taking a screenshot on most Linux distributions is the same as on Windows. Simply press the PrntScr button on your keyboard and you will either be prompted to choose a location to save it, or it will be automatically saved. (Usually in the pictures folder or on the desktop).